















This is my first ever recipe posted on this website WOW, and it’s about a delicious chocolate beverage!
I’ll be sharing my latest attempt at making myself experience chocolatey goodness with random stuff I had in my fridge, which I’m proud of, even if I didn’t take as many pictures of it as I wish I could have.
OH, just to clarify: I’m not a very experienced cook, and my cooking style often involves winging it. You can try this recipe at home, but it’s not guaranteed to be restaurant-level. Proceed carefully.
A Chocolate Milk Fan’s Thoughts
I am a big fan of choccy milk.
It’s in my blood, it’s in my veins.
It’s the first thing I order at bars or cafeterias, so I thought: Why not attempt to recreate a chocolate beverage at home with what I have?
So, I DID COOK SOMETHING. And you can too.
Big Snack doesn’t want you to know this:
You can make your own delicious drinks at HOME.

What You’ll Need
I personally used whatever I found in my pantry to make this drink.
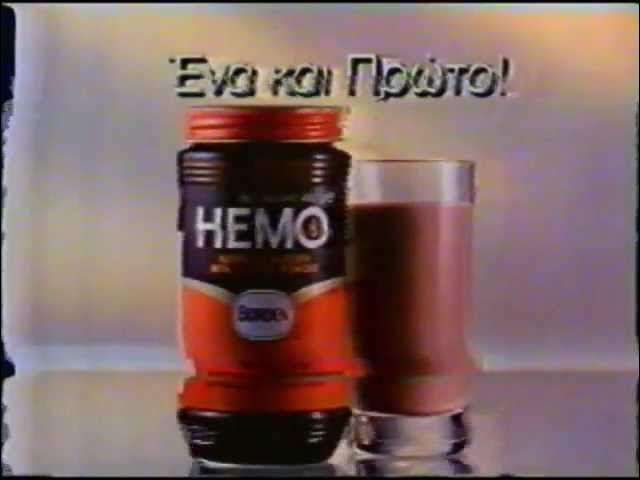
It’s some sort of cold, slightly iced cocoa beverage with an almond milk base, and some other bs that some Greek kitchens have, like HEMO cocoa tonic fortified powder thing for kids.
It tasted very similar to how a cafeteria-bought drink from a place like Gregorys or Il Toto would have tasted, at least to me.
Here’s what you’ll need to make my Broke Greek’s Cold Chocolate:
- A blender or mixer of some sort with blades (not the tiny handheld ones for Frappe!)
- A ~250ml-300ml glass
- 2tsp ocoa powder
- Almond milk (or normal milk if you have)
- 2tsp HEMO powder (if you don’t have it, swap it for just cocoa)
- 3tsp Sugar (you can adjust this to taste)
- 2 ice cubes (you can put more, but be careful with water dilution)
- A pinch of salt
- A teaspoon
Step 1: Pour the Milk Into A Glass
Pour the milk base into the normal glass to measure the milk.
Do not fill the glass fully, as the ice will later increase the volume of the drink.
Just gently pour the almond milk into the glass, with around roughly 2.5cm/an inch of room left from the top or slightly more if you want to add more ice.
Step 2: Pour the Milk Into The Mixer
Grab that glass and pour it into the mixer.
Make sure your mixer/blender’s container is clean, and try to be slightly forceful with the pouring, so that you won’t spill it over your surfaces.
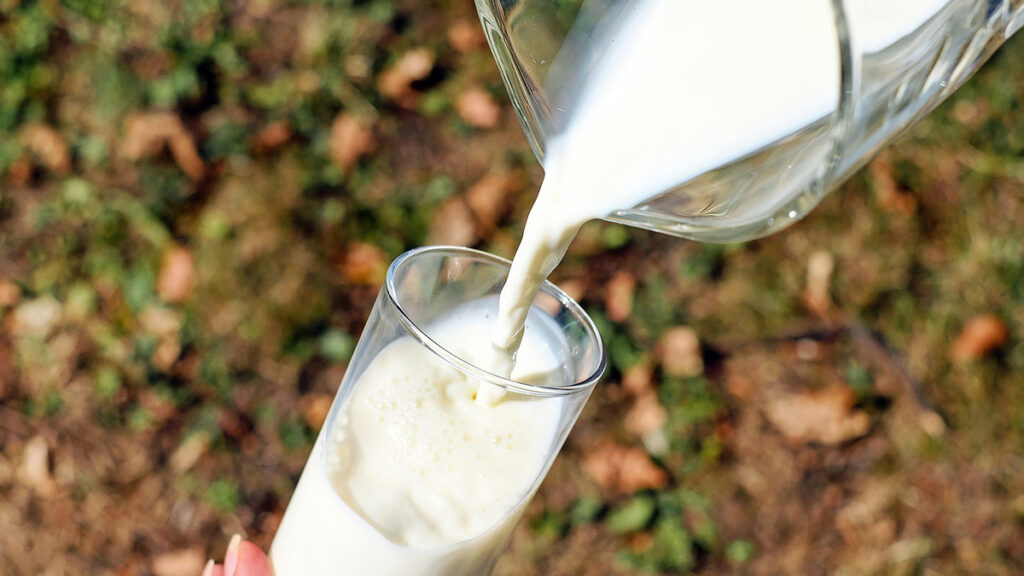
Yeah, there’s actually a good method to pour things from a glass into another, and that’s to not gently try to pour it as it will roll down the walls of the cup and onto your hands, clothes and kitchen counter.
Here’s the closest I could find to what a good pour looks like:
Step 3: Add The Dry Stuff
Use your teaspoon to spoon the dry materials into the almond milk, and make sure the spoon doesn’t touch the liquid yet, so to use the same spoon for all the materials.
Start with sugar, then cocoa, and last HEMO powder.
If you don’t have HEMO powder, you can also use Caotonic or Nesquik powder or plain cocoa, all of which can make your beverage taste like chocolate
I used HEMO because I personally liked how it tasted and felt nostalgic about it.
I eventually heard that there’s another benefit to using HEMO specifically, and that’s because HEMO powder has vitamins and minerals like iron and magnesium, but also malted barley. Malted barley makes the choccy taste richer and balances the bitterness of cocoa (with the sugar).
Interestingly, my parents had also grown up with this!
Step 4: Add Salt
You can probably skip this step, but I’m including it because salt will make everything taste better.
Even as little as a tiny pinch can change the whole chocolate experience.
Step 5: Add Ice
Without ice, the cold chocolate is just chocolate.
Go ahead and pop a couple of ice cubes in the blender, you’ll thank me later.
Optionally, you could add more ice than just two cubes, but you need to be careful with it so as not to dilute the drink too much with water.
Two ice cubes are typically alright, and they emulate the feeling of having bought a cold cocoa from Gregorys mid-day and walking around with it under the hot, Greek sun.
Step 6: Blend It Well
Gently stir everything with the teaspoon to submerge the powders so that they won’t be thrown around when the blender/mixer starts.
Next, blend the living shit out of everything.
You might hear some crackling from the ice being broken into tiny pieces, but DO NOT FRET! This is very normal, and it won’t hurt the blender (unless your blender is ass).
Blend it enough for everything to look like a creamy, slightly bubbly, solidly brown liquid.
Step 7: Pour And ENJOY!
Pour the liquid from the blender into a glass and ENJOY!
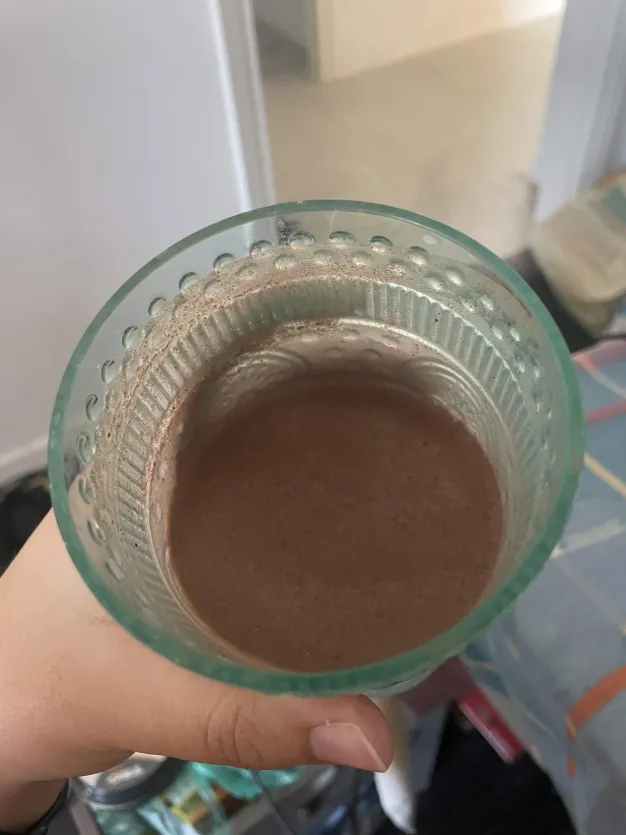
It’s enjoyable, it gives you a LOT of energy, it’s satisfying.
It can be very enjoyable before doing a form of exercise or going on a walk, or in my case, playing the accordion for hours.
Made Me Think
After mixing random shit from my kitchen and accidentally making a very delicious beverage, I had a thought:
It’s not hard to make something delicious. You don’t have to get takeout snacks to be happy. Your house already has materials to make a yummy.
You will get to feel proud after making treats for yourself and not having to pay 4.5 euro for one of each.
Yeah, it won’t taste as if Gordon Ramsey made it, and you’ll have made a small mess which you’ll need to clean up, but sometimes it’s SATISFYING AS FUCK to make something for you.
Try it!
Did you like this recipe or have any suggestions?
Send me an email! It’s on my Contact Me page!
I’m always happy to hear your suggestions as long as you’re not mean about it.
Thanks for reading!